Sway on Ubuntu
Installation guide for the latest sway version on Ubuntu 20.04
Source can be found on github
Introduction
This guide aims to be an easy to follow and straightforward way to install the master version of Sway and the wlroots dependency.
It will then extend to useful projects you might want installed for a complete desktop experience.
 Example of Customized Sway setup (dotfiles)
Why on Ubuntu ?
If you want to try out this wonderful window manager and you are used to Ubuntu you don’t have to make the jump directly, you can install sway and changing between Gnome and Sway will be a matter of logging out and selecting which one to boot.

This will let you try it out before deciding if the workflow is right for you without having to fully commit to it.
But there are other shells for ubuntu!
Yes! There are promising shells for Ubuntu, some that try to have the same functionality of these tiling window managers but personally I have tried many of them and felt more comfortable with the freedom of configurability of i3/sway.
Why Sway/wayland instead of i3 ?
If you reached this guide you should already have your reasons of why you are interested in sway & wayland, and I can say that if you prefer to try instead and use i3 on Xorg there is nothing wrong with that.
My personal reason as for why I am using Sway/Wayland is that I reached a point where I needed a keyboard centered workflow for my desktop that allowed me to better manage a great amount of opened windows. What sold me is that while I was trying many things out on virtual machines, with wayland for the first time I had a tear free video experience.
I was so used to having tearing videos, that a full hd video experience on youtube inside of a vm sold me immediately. It might not be a good reason for the switch, but after having everything setup with my preferences I have zero plans of going back to another workflow.
What this guide is not
This guide is not a guide to learn how to use a tiling window manager.
It’s a guide on how to install and configure it to have a working desktop environment, useful additions and troubleshooting.
If you are interested in learning on how to use Sway before installing it, I can advise this 3 part course on youtube, it’s about i3 but i3 & sway are mostly interchangeable with some differences and those videos will get you up to speed.
note: one error is that it mentions that there is no fullscreen in i3/sway while there is a keybinding to go fullscreen. (<mod> + f)
Nvidia cards
As stated in the wiki sway does not support proprietary drivers, so it should be fine with intel integrated graphics cards and amd gpus.
If you have an nvidia card you could try to start sway with the flag --my-next-gpu-wont-be-nvidia or use the nouveau drivers but the results I have not tested.
Simple Install
Install wlroots and sway from source.
Introduction
In this section we are going to build wlroots (required to build sway) and sway from the source repository.
We will be building the latest stable version that seems to be supported by the dependecies in ubuntu 20.04: Sway 1.5.1
Build wlroots
Here we will be building and installing wlroots.
Dependencies
Start by installing the essentials tools, we will be using pip to install an updated version of meson.
sudo apt install build-essential
sudo apt install git
sudo apt install python3-pip
Meson
wlroots requires a more up to date version of meson from what ubuntu provides, we will be using pip to install an updated one.
pip3 install --user meson==0.55.3
We now need this to be available under PATH:
export PATH=$HOME/.local/bin:$PATH
Add the line at the end of your .bashrc in your home and source it:
source ~/.bashrc
Next are direct dependencies of wlroots:
sudo apt install wayland-protocols \
libwayland-dev \
libegl1-mesa-dev \
libgles2-mesa-dev \
libdrm-dev \
libgbm-dev \
libinput-dev \
libxkbcommon-dev \
libgudev-1.0-dev \
libpixman-1-dev \
libsystemd-dev \
cmake \
libpng-dev \
libavutil-dev \
libavcodec-dev \
libavformat-dev \
ninja-build \
meson
The next ones are optional dependencies for x11 support, not required if you want a full wayland installation.
If you don’t know exactly why you don’t need them, I highly encourage you to install them:
sudo apt install libxcb-composite0-dev \
        libxcb-icccm4-dev \
        libxcb-image0-dev \
        libxcb-render0-dev \
        libxcb-xfixes0-dev \
        libxkbcommon-dev \
        libxcb-xinput-dev \
        libx11-xcb-dev
Build & Install
Now we will be cloning, building and installing wlroots.
Clone the repo
You can choose the path you prefer for the following steps, I will be working in ~/sway-build.
mkdir ~/sway-build
cd ~/sway-build
git clone https://github.com/swaywm/wlroots.git
cd wlroots
git checkout 0.12.0
Build wlroots
# ~/sway-build/wlroots
meson build
ninja -C build
Install wlroots
# ~/sway-build/wlroots
sudo ninja -C build install
And that’s it, with this you have successfully installed wlroots.
Build Sway
Here we will be building and installing Sway.
Dependencies
The list of what we need now is smaller:
sudo apt install libjson-c-dev \
libpango1.0-dev \
libcairo2-dev \
libgdk-pixbuf2.0-dev \
scdoc
Build & Install
Now we will be cloning, building and installing sway.
Clone the repo
We will be using the path created in the wlroots steps:
# ~/sway-build
git clone https://github.com/swaywm/sway.git
cd sway
git checkout 1.5.1
Build sway
# ~/sway-build/sway
meson build
ninja -C build
Install sway
# ~/sway-build/sway
sudo ninja -C build install
That’s it you just installed Sway! 🎉
Sanity Checks & Post Install
Desktop File
You should have this file /usr/local/share/wayland-sessions/sway.desktop with these contents:
[Desktop Entry]
Name=Sway
Comment=An i3-compatible Wayland compositor
Exec=sway
Type=Application
This file is what allows the login manager to select the environment Sway to start at login.
A neat trick is that you can Exec a custom script that sets some environment variables or does something else before starting sway, but we will see other ways to set these variables in further parts of the guide.
Config File
You can copy the default sway config from /usr/local/etc/sway/config to ~/.config/sway/config:
mkdir ~/.config/sway
cp /usr/local/etc/sway/config ~/.config/sway
This is the file you will be modifying to customize the sway behaviour and keybinds.
note: if you have an i3 config, you can copy that in the same path as above instead of the default one and it should work.
Final dependencies
Whaaat ?? More dependencies ???
Bear with me, the default config expects some programs for some of its configuration, they can be changed but to make it work let’s just install them and later we will see replacements.
The missing deps are:
- dmenu: default menu when using
<mod>+d - swaybg: allows sway to handle background images
- swayidle: allows sway to handle idle functionality
- swaylock: locks the screen
- alacritty: default terminal emulator in sway
You can install them with:
sudo apt install dmenu
sudo apt install swaybg
sudo apt install swayidle
sudo apt install swaylock
For alacritty, please see the alacritty optional section below before trying sway.
Idle behaviour
You might want to uncomment this exec from the default config to have the idle behaviour you expect of screen locking and screen turn off:
### Idle configuration
#
# Example configuration:
#
# exec swayidle -w \
#          timeout 300 'swaylock -f -c 000000' \
#          timeout 600 'swaymsg "output * dpms off"' resume 'swaymsg "output * dpms on"' \
#          before-sleep 'swaylock -f -c 000000'
#
# This will lock your screen after 300 seconds of inactivity, then turn off
# your displays after another 300 seconds, and turn your screens back on when
# resumed. It will also lock your screen before your computer goes to sleep.
In a later section of the guide we will see how to have a custom behaviour to blur the screen on lock, a totally useless thing but definitely neat.
Start Sway
Now we can finally start sway!
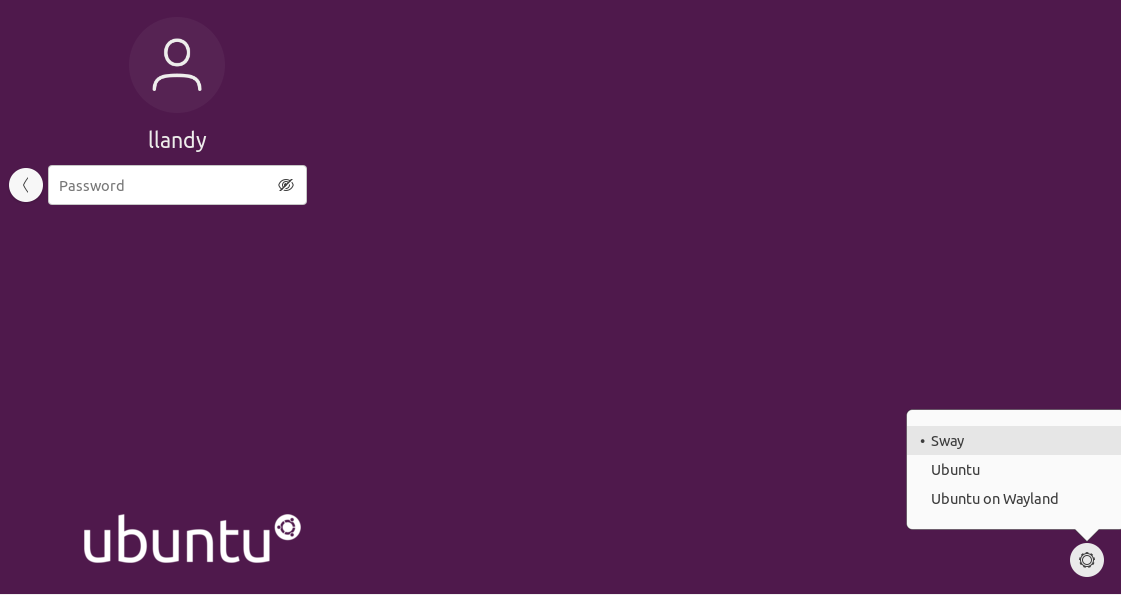
Logout and in the bottom right widget on login select Sway and proceed to login:
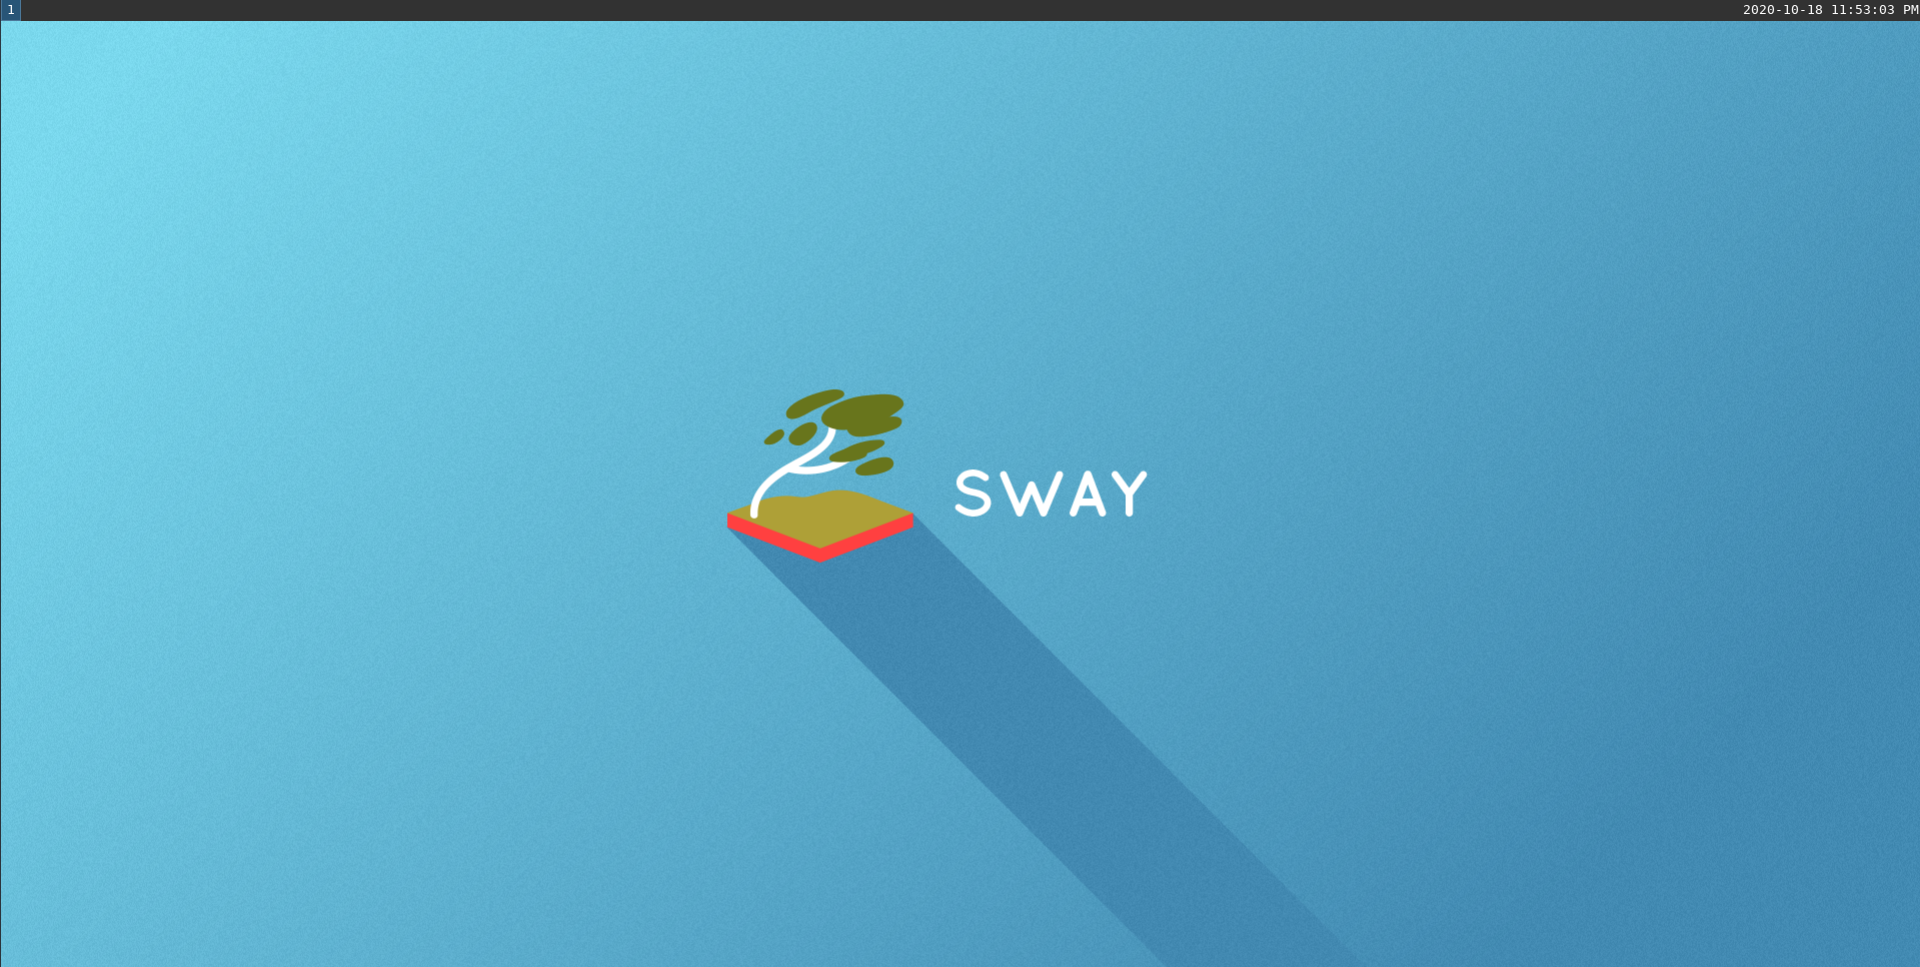
You will be greeted by a pretty empty but clean virtual desktop:
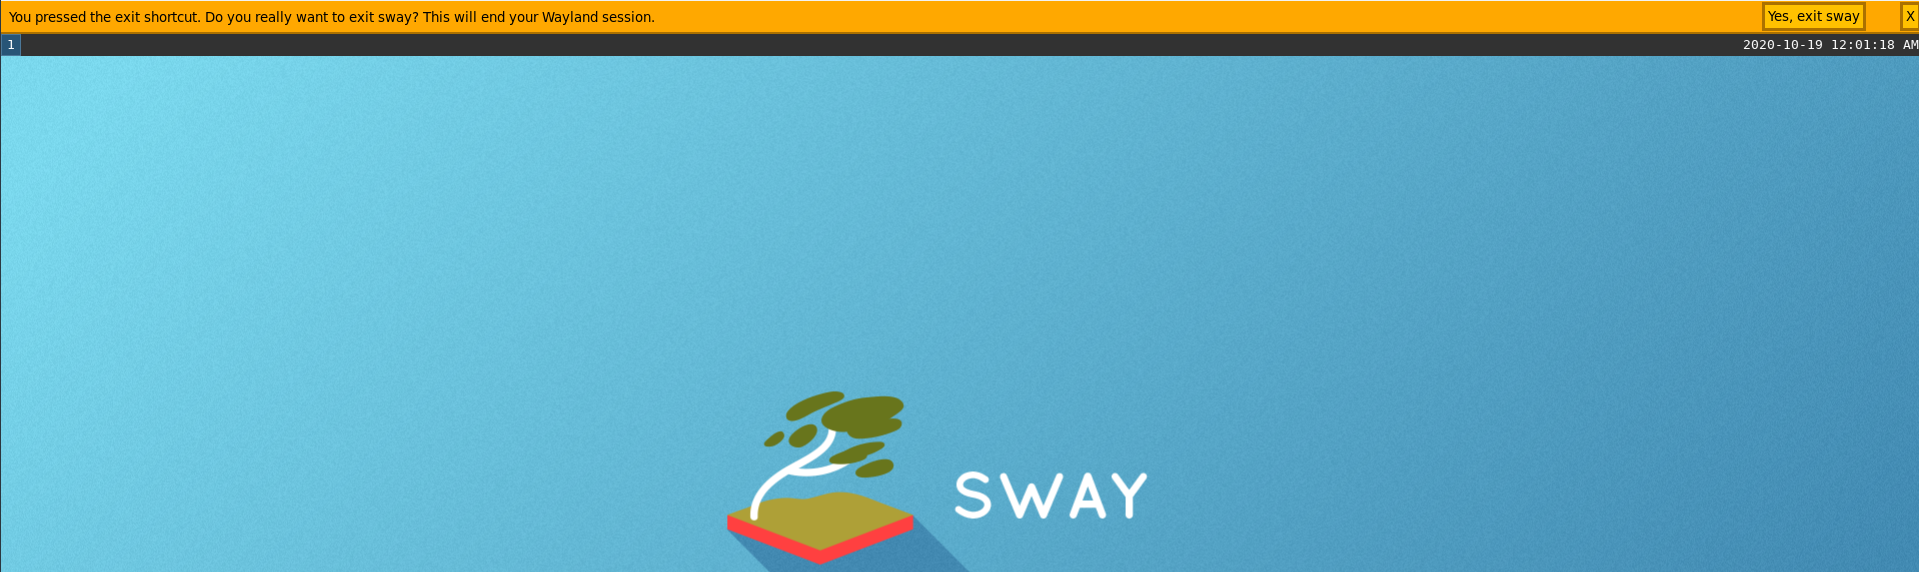
To exit Sway you can press the keys <mod>+shift+e that will bring up a popup where you will have to click with the mouse to confirm:
Now you can experiment with Sway to see if it fits your workflow, with the default config you can use these commands to open a new terminal and close windows:
<mod>+enter- Open a new terminal<mod>+shift+q- Close window<mod>+d- Open dmenu
Great! This concludes the simple install of Sway, if you are interested in some tools and configurations that I find useful for my day to day work, check the Extra section!
I hope you will enjoy this new workflow as much as I do, and if you do not, you learned something new today!
Alacritty (Optional)
The default terminal in the Sway config is Alacritty.
Install
To get an up to date version on Ubuntu you can use the following ppa:
sudo add-apt-repository ppa:mmstick76/alacritty
sudo apt update
sudo apt install alacritty
Change default terminal
You don’t have to use it and you can change the default by changing this line in the Sway config:
# Your preferred terminal emulator
set $term alacritty
for example to use gnome-terminal:
# Your preferred terminal emulator
set $term gnome-terminal
Why I use it
My personal reason for using alacritty is that I was looking for a minimal terminal to pair with Sway and it supports vi keybinds.
Extra
Introduction
In this Extra section I will be showing some configurations or things to do that you might find useful.
For example the first thing that I found missing that I required was having the ssh-agent running so we will start with that!
ssh-agent
The problem was that ssh-agent is not running by default so you can add these lines to your .bashrc to start an instance and reuse it for the whole session:
# start only one ssh-agent and reuse the created one
# this is used for sway, althou keys added do not persist on reboot
if ! pgrep -u "$USER" ssh-agent > /dev/null; then
    ssh-agent > "$XDG_RUNTIME_DIR/ssh-agent.env"
fi
This will ask for password on first use, so if you reboot you will have to insert it again. If you prefer that it remembers it you could explore solutions with gnome keyring or similiar.
To complement this, I added these settings to the ~/.ssh/config file so I have my key already added:
# ~/.ssh/config

AddKeysToAgent yes
IdentityFile ~/.ssh/my_private_key
Screenshots
This is actually a feature that I could not live without as I find myself sharing often screenshots for work, so it was one of the first things that I setup to mimic my Ubuntu experience.
The dependencies that you will need to install are:
grim allows you to grab images, slurp allows you to select a region of the screen.
wl-clipboard gives you utilities for working with the clipboard like wl-copy and jq is a json parser, these two are dependencies of a script that we will use for simpler screenshotting: grimshot
Install all of these with apt and make sure to have the grimshot script executable:
sudo apt install wl-clipboard
sudo apt install grim
sudo apt install slurp
sudo apt install jq
I have modified this line to have better naming of the saved screenshots:
# before:
2020-09-15T02:06:18,876888351+02:00.png

# after:
2020-09-18-03:12:24.png
# line 31
FILE=${3:-$(getTargetDirectory)/$(date +"%Y-%m-%d-%H:%M:%S").png}
All that’s left is adding these commands to the sway config ~/.config/sway/config.
Here I have grimshot as an executable under ~/.local/bin/grimshot
# Screenshots
# currently having a custom grimshot under .local/bin
set $grimshot ~/.local/bin/grimshot
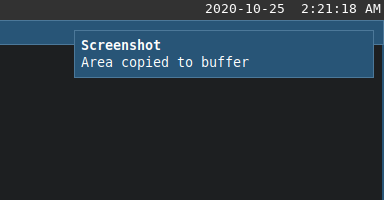
bindsym Print exec $grimshot --notify save screen
bindsym Ctrl+Print exec $grimshot --notify copy screen
bindsym Shift+Print exec $grimshot --notify save area
bindsym Ctrl+Shift+Print exec $grimshot --notify copy area
And you are set! With these settings you will have:
Print- saves the entire screen<Shift> + Print- copy the entire screen<Ctrl> + Print- select an area and save it<Shift>+<Ctrl> + Print- select an area and copy it
You will find the saved screenshot in your ~/Pictures folder.
If you require more control, for example you need to be able to screenshot only a specific window, feel free to add more commands!
You probably noticed the --notify flag that I have set, it will send a notification but if you followed along you probably aren’t seeing any. In the next section we will look into installing a notification manager!
Notification Manager (mako)
If you try to send a notification via command line you will see that nothing appears:
notify-send hello
Install
To manage notifications you can install mako via apt:
sudo apt install mako-notifier
Mako can be started by executing the program mako, now if you try to send a notification again you will see it appear by default in the top right of the screen: notify-send hello

You probably noticed that the notification won’t disappear because we didn’t specify a timeout but don’t worry for now.
Config
Instead of starting mako manually it would be nice if sway executed it at startup and it would also be nice to have some commands to dismiss the notifications.
Add these lines to your sway config:
# Mako
bindsym $mod+n exec makoctl dismiss
bindsym $mod+Shift+n exec makoctl dismiss -a

# Start programs
exec mako
With these lines you will have mako running by sway on startup and the following bindings:
<mod>+n- dismiss the last notification<mod>+<shift>+n- dismiss all notifications
You can also configure mako, a simple config to use could be:
# ~/.config/mako/config

default-timeout=5000

[urgency=high]
ignore-timeout=1
It is self explanatory, every notification has a default life of 5 seconds except notifications marked with urgency high, those will ignore the configured timeout. You can lookup more settings and customize it further!
If you try to take a screenshot now, you will see the notification for it appear!
Troubleshooting
On ubuntu 20.04 there might a problem with apparmor and mako so if you see a strange error on opening the configuration file for mako you can disable apparmor for it with:
sudo apt install apparmor-utils
sudo aa-disable /etc/apparmor.d/fr.emersion.Mako
Blurred Lock Screen
Instead of having a black lock screen I used a script with grim and ffmpeg to take a screenshot and blur it. This might be something totally not functional that you might enjoy.
Install ffmpeg with:
sudo apt install ffmpeg
Then create a script with these contents, I named the script create_lock_image:
#! /bin/sh

# Take a screenshot of the desktop and apply a gaussian blur to create
# an image to use for the lock screen.

grim /tmp/_sway_lock_image.png
ffmpeg -i /tmp/_sway_lock_image.png -filter_complex "gblur=sigma=50" /tmp/sway_lock_image.png -y
Then you can configure your lock screen to run the script and set the resulting image as background:
# ~/.config/sway/config

exec swayidle -w \
         timeout 300 '~/.local/bin/create_lock_image && swaylock -f -i /tmp/sway_lock_image.png' \
         timeout 600 'swaymsg "output * dpms off"' \
              resume 'swaymsg "output * dpms on"' \
         before-sleep 'swaylock -f -c 000000'
The result will be something like this depending on your screen

and while unlocking:

Fzf as application launcher
Fzf is a wonderful tool, it’s a fuzzy finder and can be used as an application launcher.
Install fzf with:
sudo apt install fzf
Add the following lines to your sway config:
# Application launcher with fzf
set $menu exec $term --class=launcher -e bash -c 'compgen -c | grep -v fzf | sort -u | fzf --layout=reverse | xargs -r swaymsg -t command exec'

# Windows config
for_window [app_id="^launcher$"] floating enable, border none, opacity 0.8
This will use a terminal with fzf for launching programs in floating mode without border and a little transparent, you can invoke it with the same command as before <mod>+d

Brightness/Volume/Media controls
To use the brightness/volume/media special keys on your keyboard you can install these two tools and add this to your sway configuration:
sudo apt install brightnessctl
sudo apt install pavucontrol
# ~/.config/sway/config

# volume / brightness / media controls
bindsym XF86AudioRaiseVolume exec pactl set-sink-volume @DEFAULT_SINK@ +5%
bindsym XF86AudioLowerVolume exec pactl set-sink-volume @DEFAULT_SINK@ -5%
bindsym XF86AudioMute exec pactl set-sink-mute @DEFAULT_SINK@ toggle
bindsym XF86AudioMicMute exec pactl set-source-mute @DEFAULT_SOURCE@ toggle
bindsym XF86MonBrightnessDown exec brightnessctl set 5%-
bindsym XF86MonBrightnessUp exec brightnessctl set +5%
bindsym XF86AudioPlay exec playerctl play-pause
bindsym XF86AudioNext exec playerctl next
bindsym XF86AudioPrev exec playerctl previous
Firefox wayland native + big mic popup fix
Firefox requires environment variables to be set to know to be run in wayland native mode, the way I went about letting sway know about these variables is with the .pam_environment file but there are probably other ways to do this, as example starting sway with a custom script that already sets the desired environment variables.
Create a .pam_environment file in your home:
# ~/.pam_environment

# Firefox use wayland
MOZ_ENABLE_WAYLAND DEFAULT=1
# make firefox aware of wayland instance when launched from x11
MOZ_DBUS_REMOTE DEFAULT=1
Now after you restart, firefox will be running in wayland native mode even if launched from x11 windows.
When running in wayland native mode, an annoying bug is that when you are on a page with the mic permission enabled, the indicator will be an entire new window in its full size.
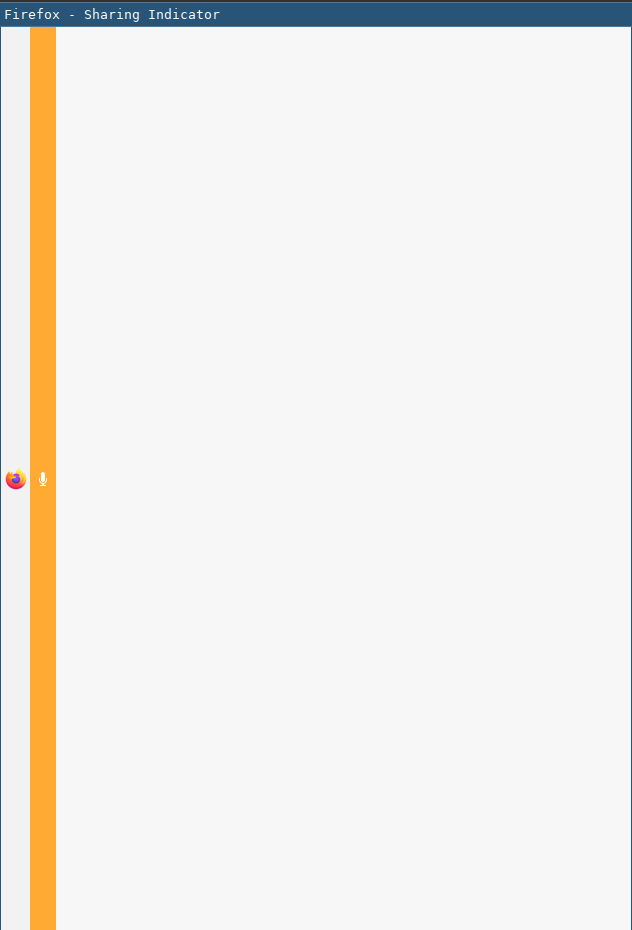
As a workaround until the bug is fixed in firefox, add this config in your sway config to make the window floating and small:
# ~/.config/sway/config

# this makes the popup window for mic access small and stickied instead of an
# extra window, this will work until it's fixed in firefox
for_window [title="\ -\ Sharing\ Indicator$"] floating enable, sticky enable

The sticky enable part means that it will follow you even if you switch workspace.
Hide Cursor
The cursor can be hidden after a period of inactivity with this setting:
# ~/.config/sway/config

# Hide cursor
seat seat0 hide_cursor 5000
Spawn new terminal in current path
An useful setting that I found is that when having <mod>+enter as spawn new terminal, a great addition is having <mod>+<shift>+enter spawn a new terminal in the current path.
With alacritty you can achieve this by setting a new keybind, in my case <mod> is <super> so I set it as:
# ~/.config/alacritty/alacritty.yml

key_bindings:
  - { key: Return,   mods: Super|Shift, action: SpawnNewInstance }
Waybar
The bar you have been seeing in my examples is Waybar.

To install it:
sudo add-apt-repository ppa:nschloe/waybar
sudo apt update
sudo apt install waybar

# for the icons
sudo apt install fonts-font-awesome
and add to your config:
# ~/.config/sway/config

bar {
    position top

    swaybar_command waybar
}
To configure it or style it you can look in the waybar wiki or for mine in my dotfiles.
GTK+ applications have long startup
If gtk+ applications are taking a long time to startup (20~ sec), add this at the start of your sway config file:
exec systemctl --user import-environment DISPLAY WAYLAND_DISPLAY SWAYSOCK
exec hash dbus-update-activation-environment 2>/dev/null && \
     dbus-update-activation-environment --systemd DISPLAY WAYLAND_DISPLAY SWAYSOCK
Honorable mentions
Here are other tools that are worth mentioning even if some I haven’t tried yet but are under my radar.
Record screen and audio, I used it for the examples of this guide.
sudo apt install wf-recorder
Draw/Edit screenshots.